Cyberpunk 2077 players who have ventured into the Phantom Liberty DLC like myself will be familiar with the Relic Point system but may wonder where to get more.
This article will take you through how to get all of the Relic Points in Cyberpunk 2077 so you can upgrade the associated Relic skill tree to the max — all done in plenty of style.
- Every Relic Point Location in Cyberpunk 2077: Phantom Liberty
- Relic Point 1 — Kress Street Alley, Outside Safehouse
- Relic Point 2 — South of Heavy Hearts Club
- Relic Point 3 — Corner Statues in the Stadium
- Relic Point 4 — Building Close to Luxor High Wellness Spa
- Relic Point 5 — South-West Dogtown Building
- Relic Point 6 — Kress Street Enemy-Filled Tunnel
- Relic Point 7 — Under a Bridge Overlooking Dogtown
- Relic Point 8 — East of Heavy Hearts Club
- Relic Point 9 — Central Dogtown Building
- Relic Point 10-15 — General Phantom Liberty Story Progression
Every Relic Point Location in Cyberpunk 2077: Phantom Liberty
There are nine Relic Points that you can get from data terminals scattered across Dogtown but then the remaining Relic Points are acquired in a different way. I have decided to start off with the Relic Points you need to travel around for and then the remaining points will be discussed at the end of the article, keep this page up as a handy reference for yourself.
Related: How to Get Rebecca’s Shotgun in Cyberpunk 2077
Relic Point 1 — Kress Street Alley, Outside Safehouse
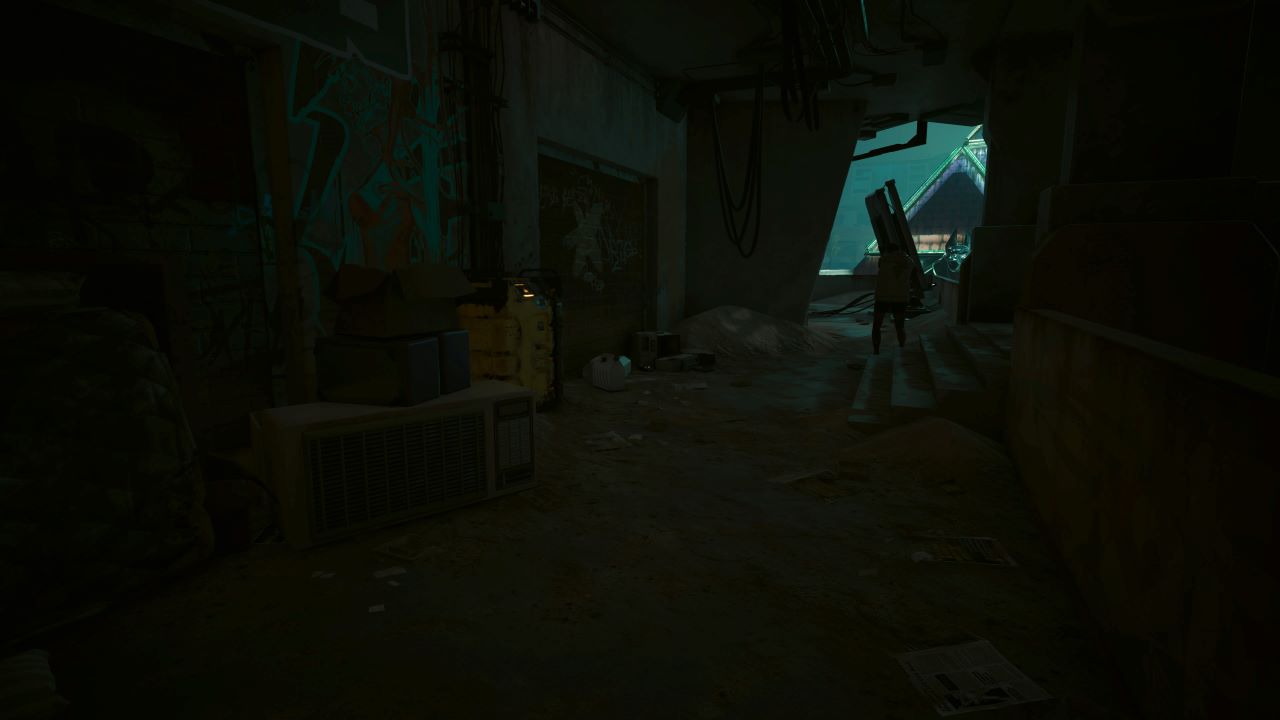
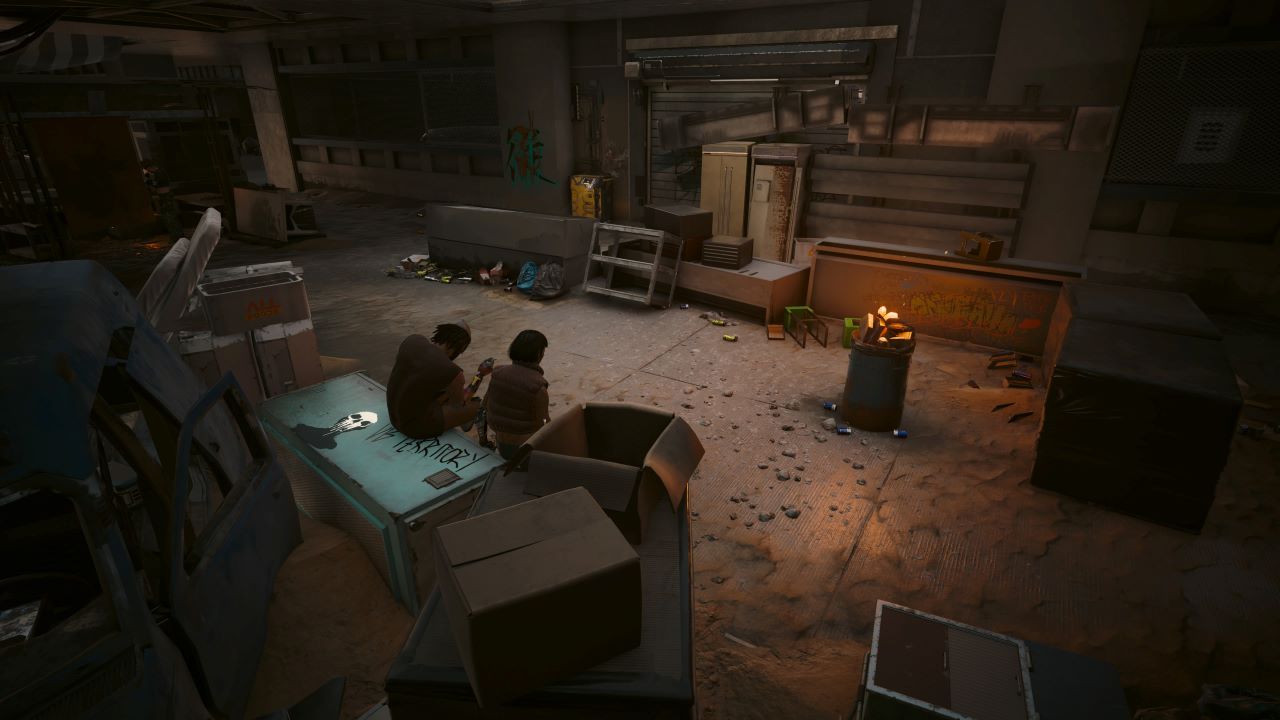
Directly outside the safehouse, there is a small alleyway to the right which has a data terminal tucked away at the back. I found it within just a few minutes of getting out of the safehouse so you won’t have too many issues locating it on your map when close.
Relic Point 2 — South of Heavy Hearts Club
Across from the Heavy Hearts Club, there is a machine that can be climbed on to navigate up to a balcony area on the side of a building. The data terminal is just sitting at the side of the corridor for you to connect to and grab the point.
Related: Cyberpunk 2077 Throwing Knives: Where to Get and How to Use Them
Relic Point 3 — Corner Statues in the Stadium
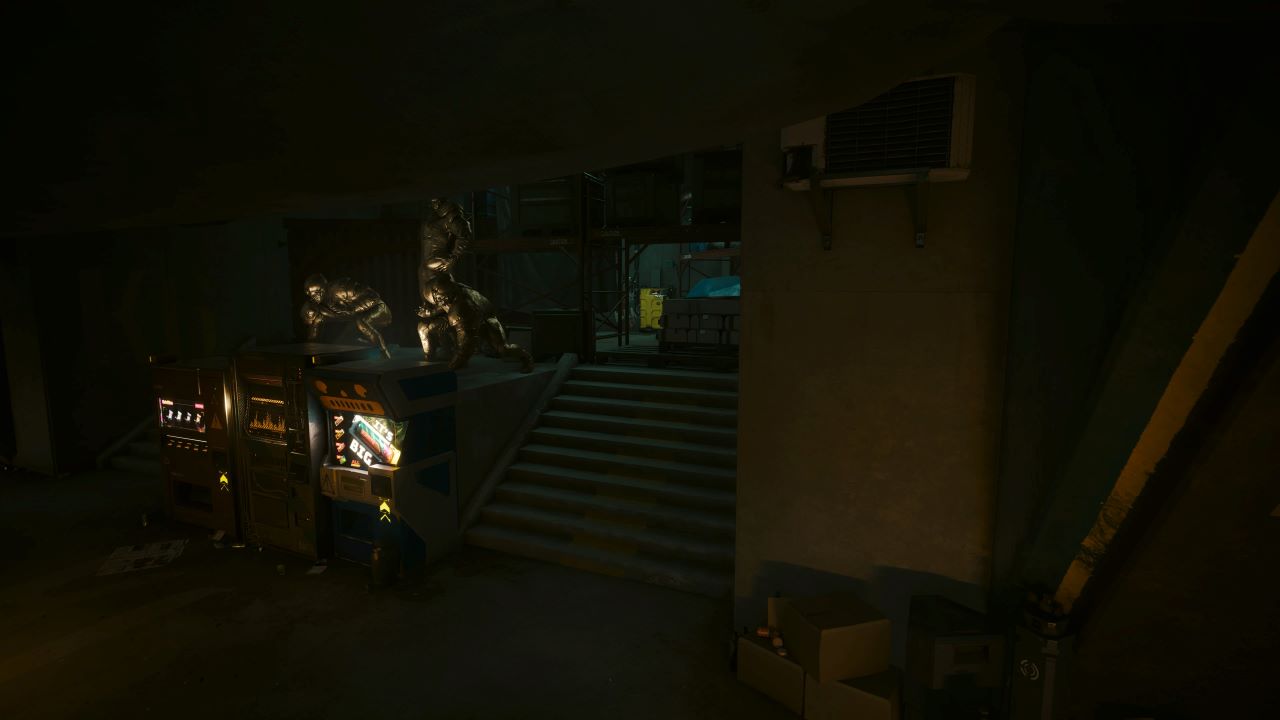
This particular Relic Point I had a little trouble locating at first but then it became much easier. It is in the Stadium and you will want to take the left path after you have entered. Keep going until you reach the end and eventually, you will notice “hostile area” pops up on the map. This means you are in the right place, up at the top right behind some statues you can go and get the Relic Point.
Relic Point 4 — Building Close to Luxor High Wellness Spa
Use the Luxor High Wellness Spa fast travel point to get taken close to where you will find this specific Relic Point. Cross the road and inside the building on the other side, you will be able to locate the Relic Point on the left side wall. However, I recommend going into this building from the back through a smashed window as there are many enemies inside.
Related: Best Netrunner Build in Cyberpunk 2077 (2.0)
I found that going in through the back way allowed me to get an advantage over the enemies and plan my attacks out more.
Relic Point 5 — South-West Dogtown Building
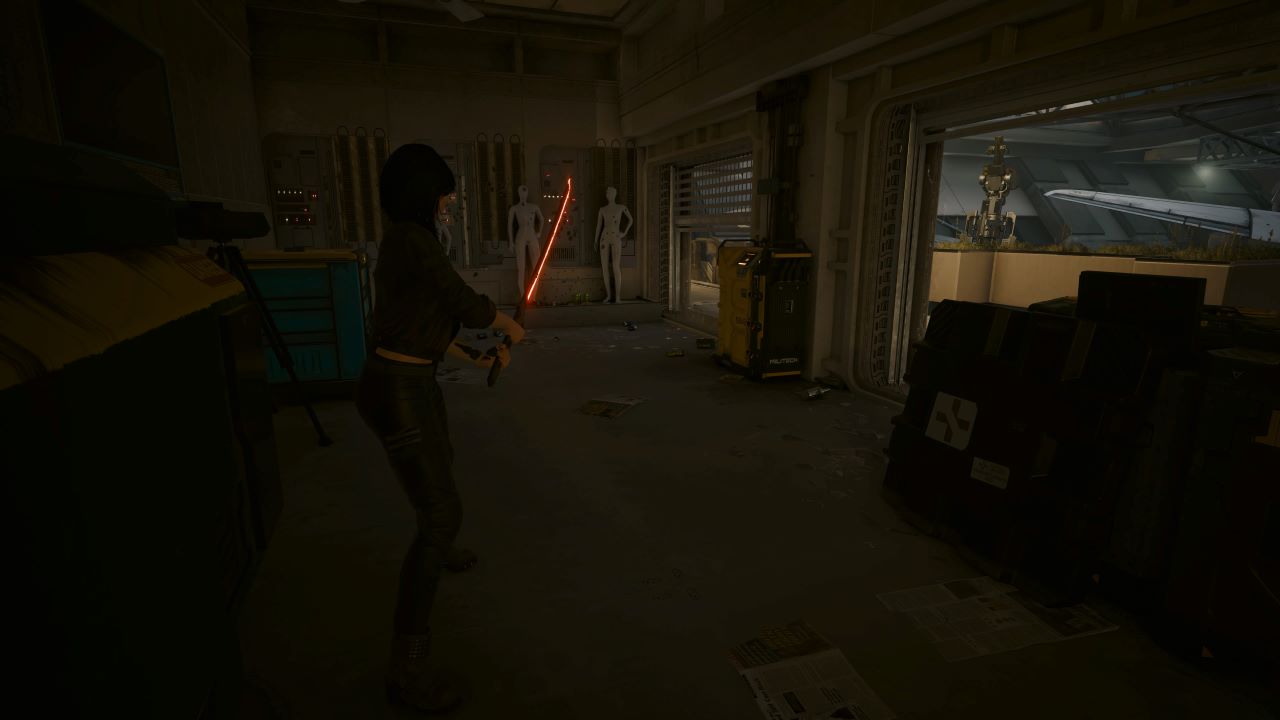
For this Relic Point, you will need to travel to another enemy-infested building found to the southwest of Dogtown. After you have either snuck or fought your way through, the Relic Point is on the top floor at the left side of the building. There will be some mannequins in this room too which can be used as an indicator that you are nearby.
Relic Point 6 — Kress Street Enemy-Filled Tunnel
Another relic point near Kress Street is found by going to the left of where the safehouse building is and you will find a lot of construction gear sitting around. Go through the area and then enter the tunnel that will be on your right side. Keep progressing through the area and eventually, you will reach an area with a side room.
Related: How to Increase Your Cyberware Capacity Limit in Cyberpunk 2077
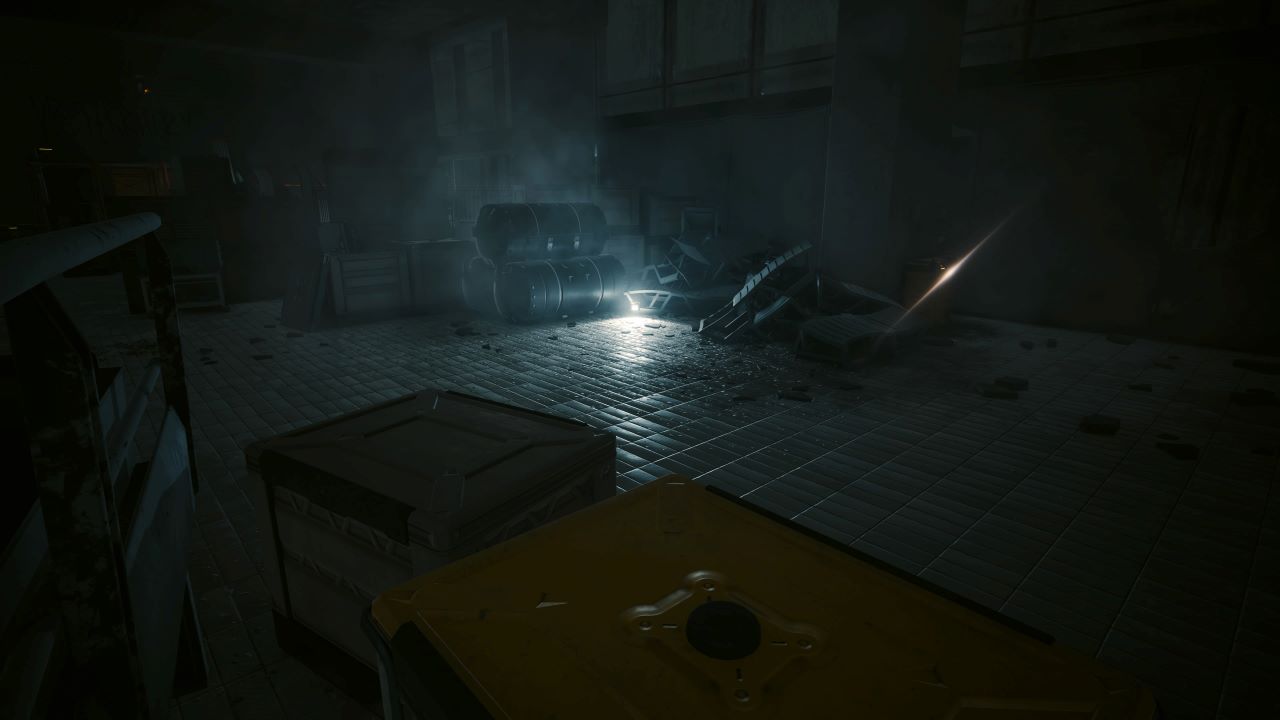
In this room is the Relic Point. I recommend sprinting through the enemies until you get here as I personally had some luck in one of the enemies opening the door which the Relic Point is locked behind. You can also either force open the door or get into the room via a vent which you can navigate through at the back of the area.
Relic Point 7 — Under a Bridge Overlooking Dogtown
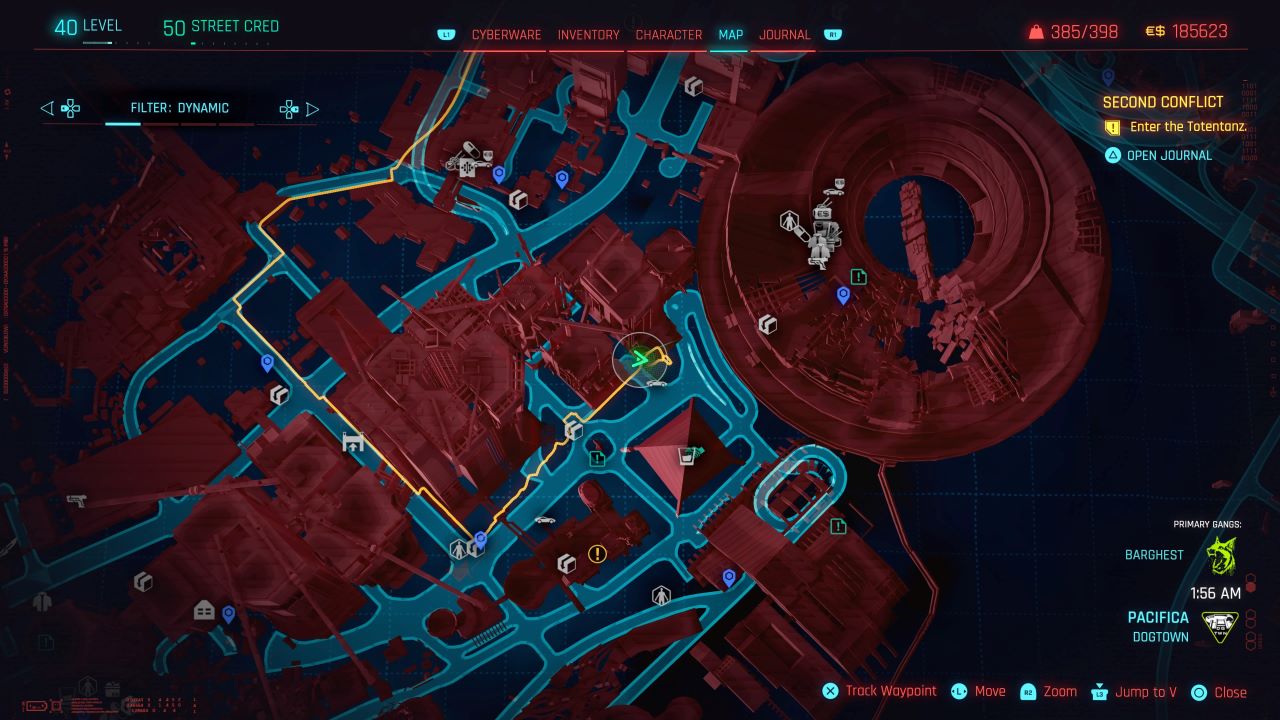
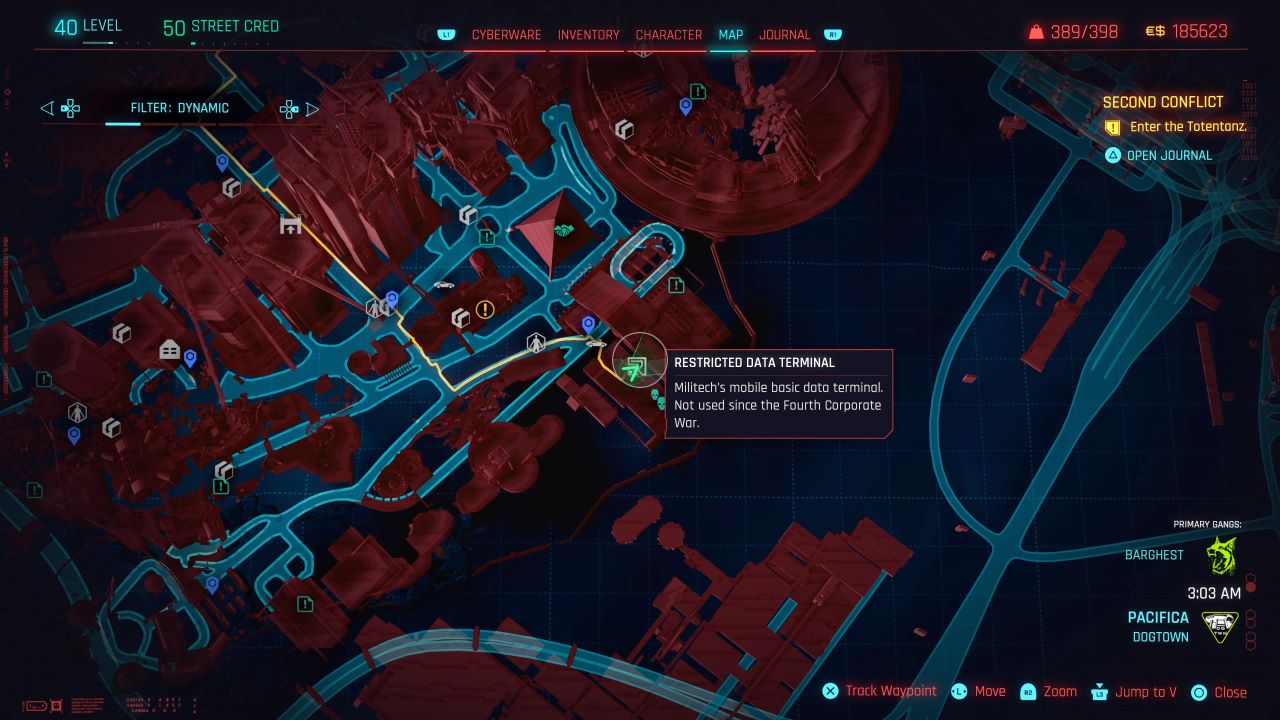
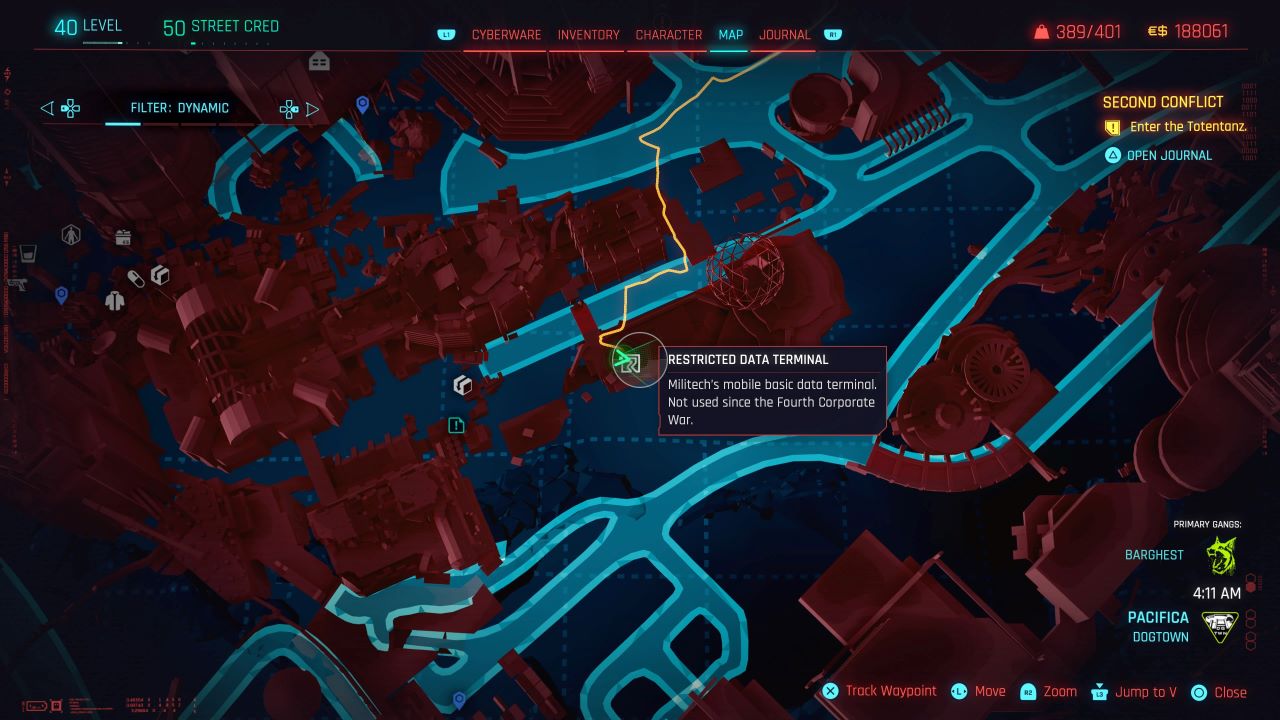
At the back of Dogtown is an area that you will visit a few times during the story, especially in one moment with Songbird. There is a bridge/overhead road near here and underneath it, you will find the relic point terminal behind some debris.
Relic Point 8 — East of Heavy Hearts Club
Across from the Heavy Hearts Club on the east side, you will be able to find a Relic Data Terminal at the top of a building. It can be reached by using the nearby stairs to as far up as you can go then making use of a ramp to make the rest of the way up. The Relic Point is at the top of the concrete stairs.
Relic Point 9 — Central Dogtown Building
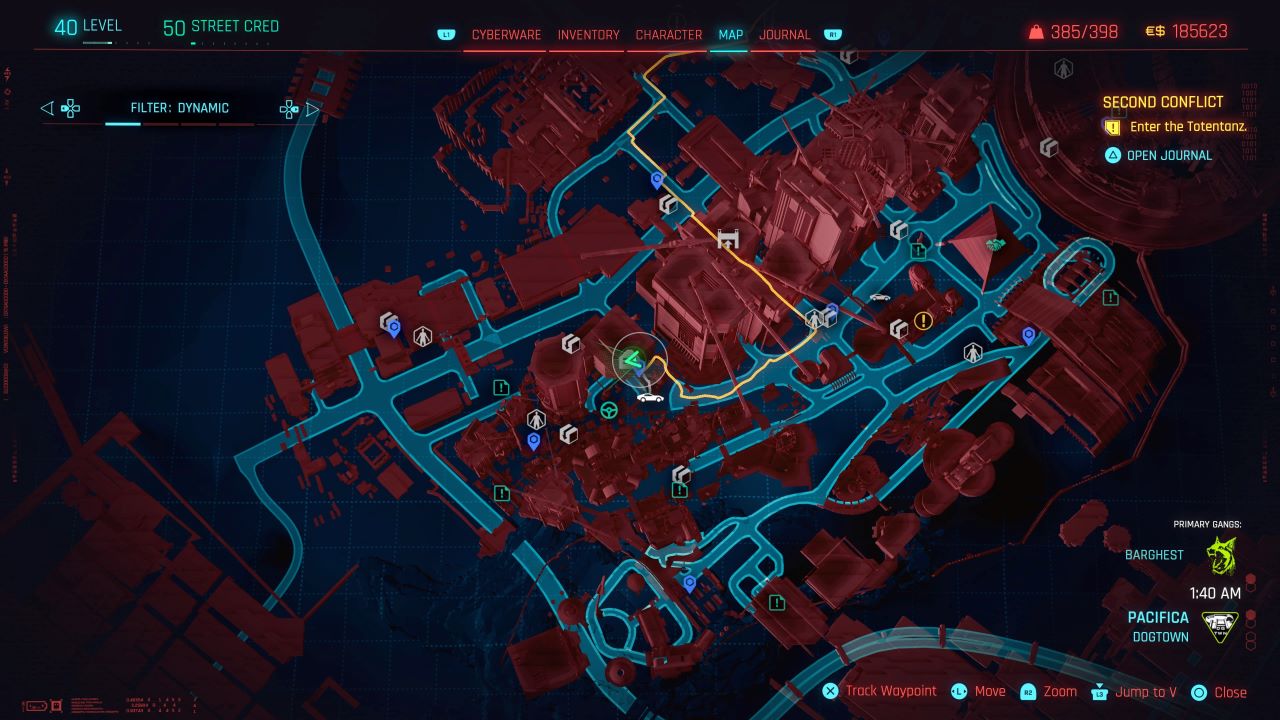
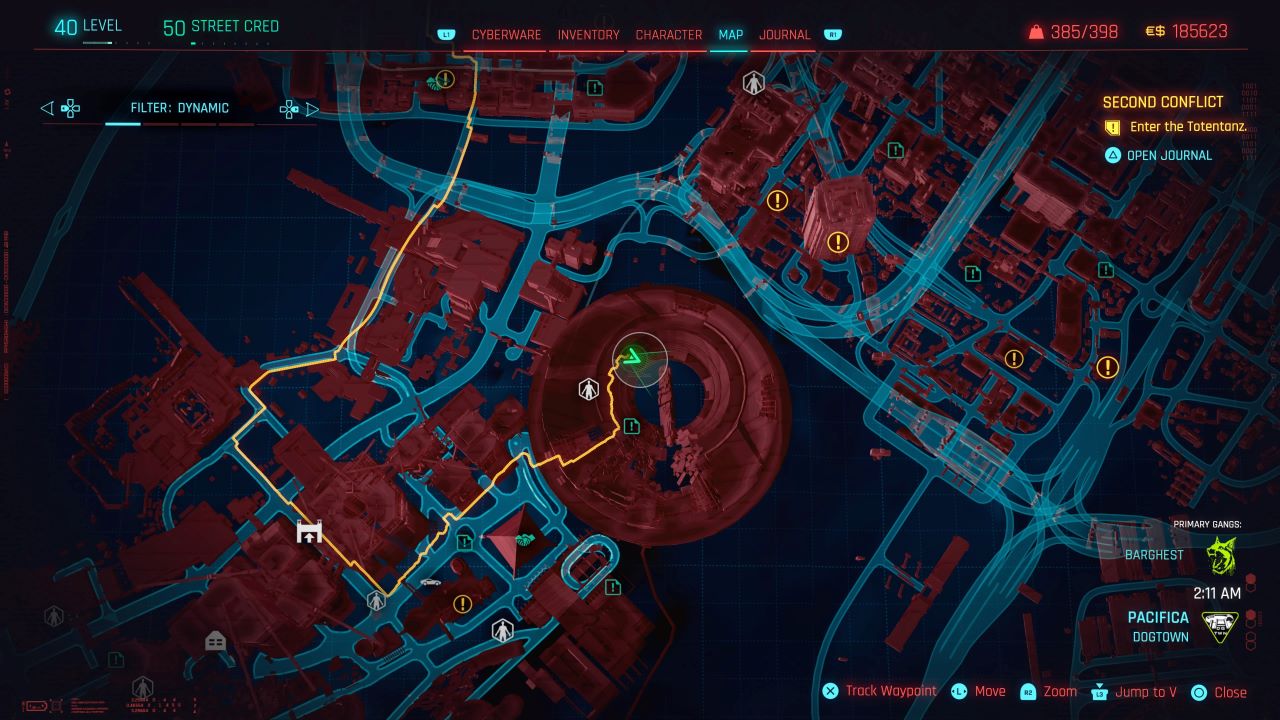
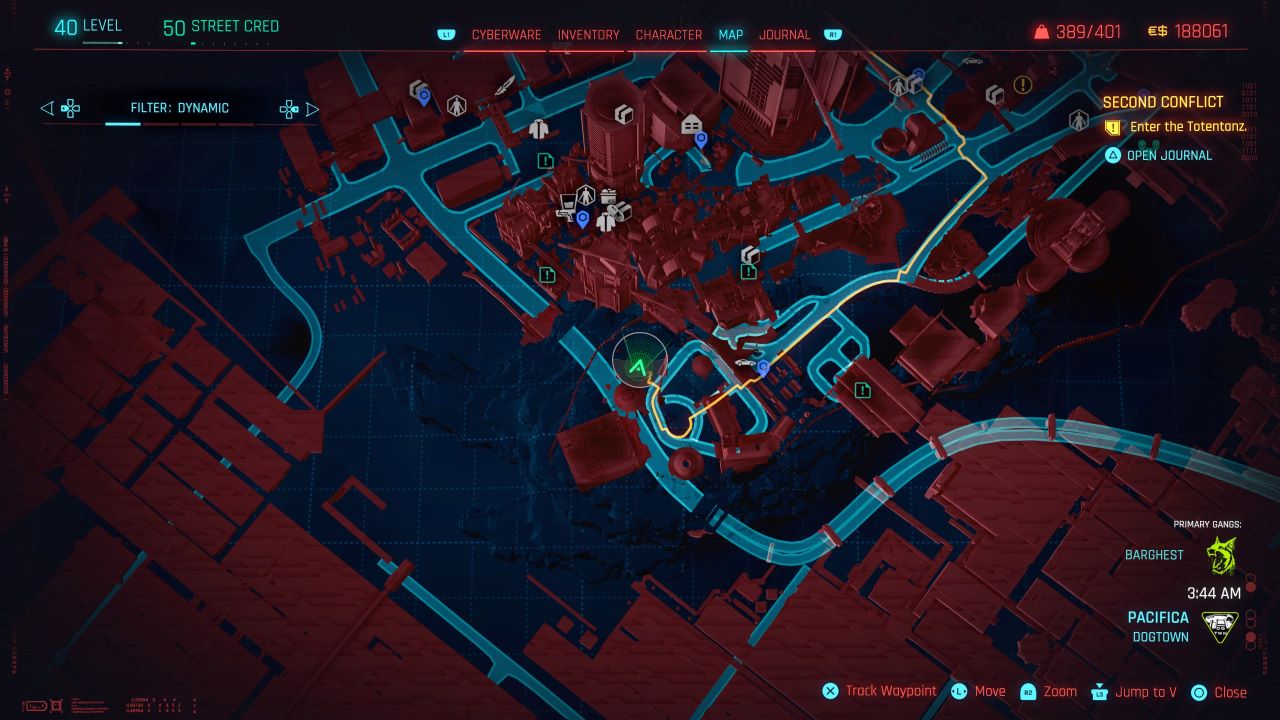
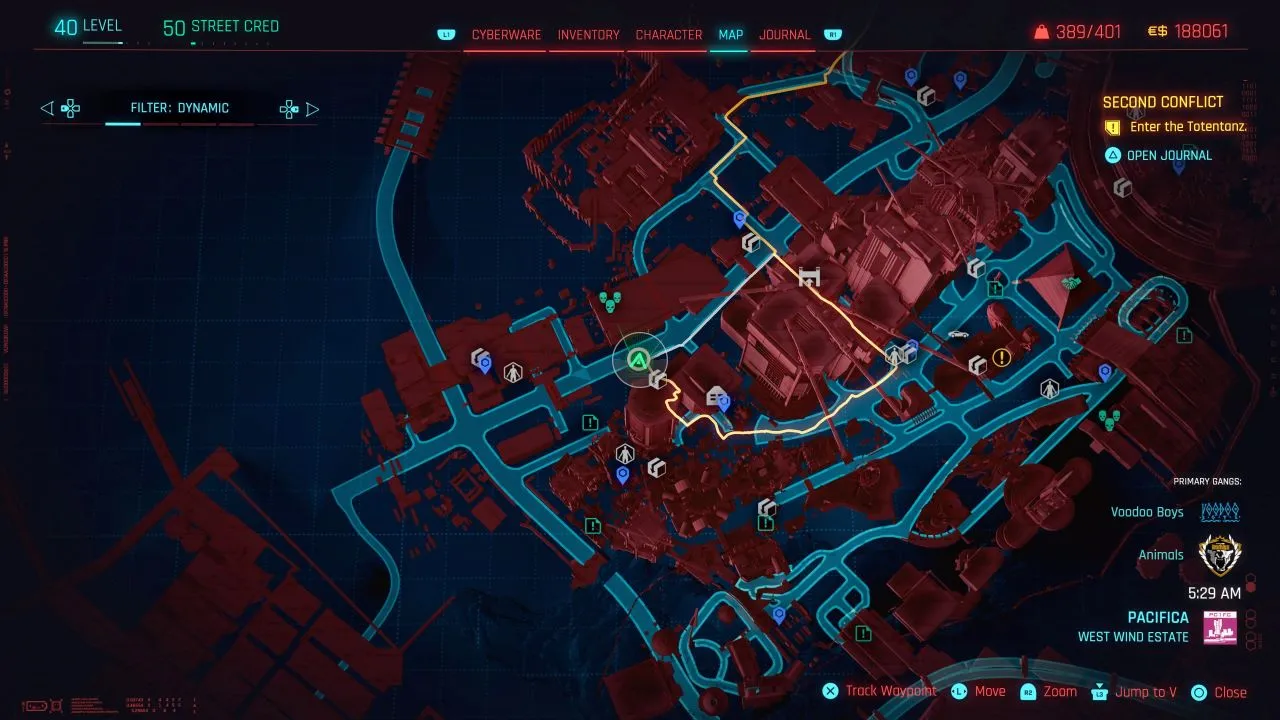
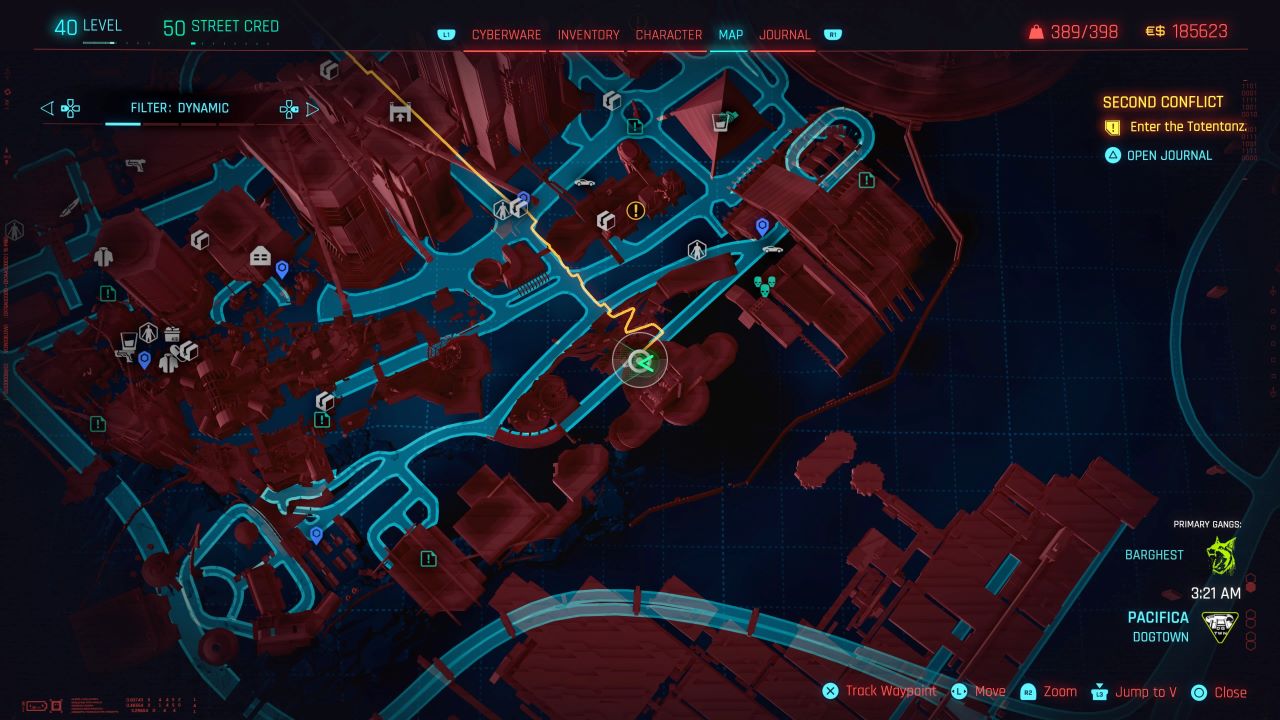
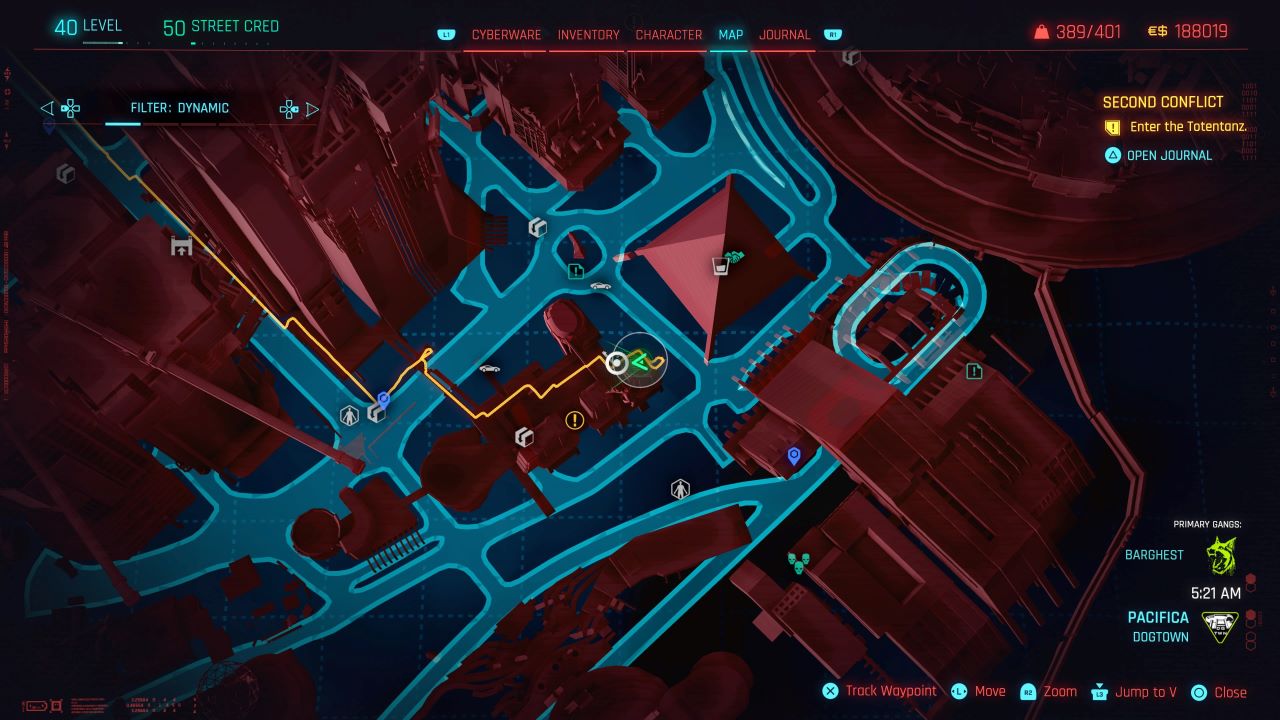
Up on the second floor of the building in the center of Dogtown shown on the map above, you will locate the Data Terminal at the back of the room.
Relic Point 10 -15 — General Phantom Liberty Story Progression
Six relic points you will earn through the Phantom Liberty story so by this point you may have already received these. During the first mission (Dog Eat Dog) in the DLC I know you get three Relic Points given to you by Songbird. Along with this, the mission Birds with Broken Wings will also reward you with three Relic Points.
Related: Cyberpunk 2077 Phantom Liberty Roulette Guide: Red or Black Choice and All Answers
Now that you know where to get all of the Relic Points in Cyberpunk 2077, you can hop back into the game and start preparing your perfect builds. I recommend trying out the best Monowire build around which is even more useful with a Relic Point skill unlock.









Published: Nov 24, 2023 03:06 pm