NODE.OVRD.AVALON is a new secret Exotic mission in Destiny 2. After learning how to start the NODE.OVRD.AVALON mission, you’ll need to know how to complete it, which will get you the Vexcaliber Exotic Glaive in Destiny 2. Let’s go.
How to Complete the NODE.OVRD.AVALON Mission in Destiny 2
Once you’ve begun the NODE.OVRD.AVALON mission, you need to jump down into the Vex light transporter. After that, crawl under the open passage when it opens on the left or right.


Then, go to the green light on the left or right and follow the silver river. Be careful as this will hurt you. Destroy the two Harpies and go through the crack in the wall that is located between them.
Related: All Neomuna Action Figure Locations in Destiny 2 Lightfall
Continue forward through the Vex portal going down. You’ll come out in a purple Vex area.

How to Enter the Access Codes in the NODE.OVRD.AVALON Mission
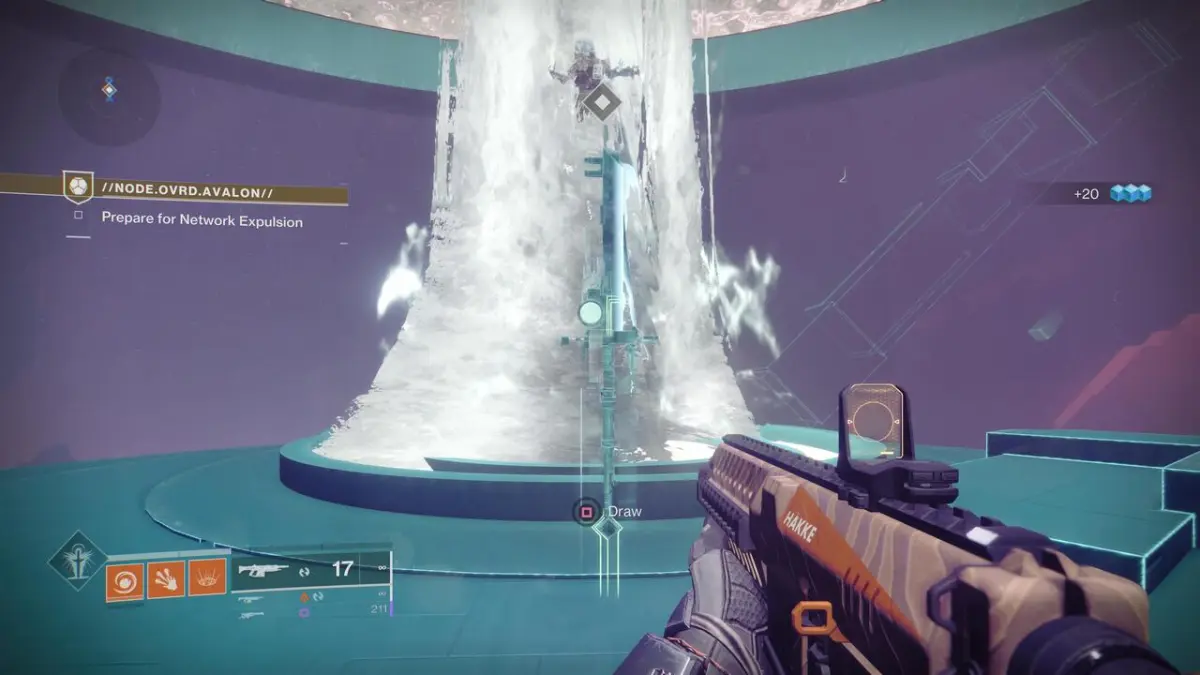
At this point, you need to enter three Access Codes. To enter the access codes, you need to locate the pattern and shoot the corresponding shapes.


The first pattern is found to the right of the center column and contains three symbols. The second pattern is found toward the back left. Look behind the floating wall and you’ll see four symbols. The third pattern is found toward the back right. Look behind the floating wall and you’ll see five symbols.
With the pattern memorized, you now need to shoot the corresponding shapes when they appear in the center column. Enemies will continue to spawn and we recommend taking out the Hobgoblins first each time. If you do it correctly, you’ll move on to the next area.
Next, you’ll need to clear out a bunch of Vex including two Cyclops that can easily kill you and make you restart the section, so proceed with caution. Once all the Vex ahead are defeated, you’ll need to complete another access code section.


The first pattern is found near the central column. Look to the left of the room and you’ll see it. The second pattern is found toward the back right. It is behind a few Vex blocks. The third pattern is found toward the back left behind the tall Vex blocks. Be careful not to die because if you do, you’ll need to restart from the first section.
Once that is done, you need to defeat a swarm of Vex and continue forward. The biggest threats are the Wyverns, so, like always, proceed with caution.


Once you hit the Vex wall, all you need to do is jump up and to the right to continue. Follow the silver river and take the trail on the left after it opens up. Jump onto the platforms below, but be careful as they do disappear and reappear.
At this point, carefully jump onto the ledge on the left. When the push boards aren’t in your way, proceed forward to the next secure spot. Don’t worry about the Harpies as they won’t attack you.
Once you’re past the section, jump to the right and continue forward. Place the banner, take the jump pad, and prepare for a fight.
Related: Destiny 2 Strand: The Best Builds for Hunters, Titans, and Warlocks

How to Gather the Data and Take Shelter in the NODE.OVRD.AVALON Mission
In this arena, you need to gather data by defeating the Dataholder Vex. They will drop purple items. Once you have enough of them, turn them in at the center column and take shelter below. If you don’t do this in time, you’ll die.
After two rounds of this, you’ll deal damage to Data Nullifier. After the first damage phase, you need to survive two more rounds of data collection. We recommend a fast build like the Arc Warlock to get through this.


Defeat Data Nullifier and continue to the next area. Continue forward through where Data Nullifier was. Continue through the gaps and, when you come across the Vex wall, jump around it. Then, travel through the portal in the middle.

How to Defeat Brakion in the NODE.OVRD.AVALON Mission
Brakion is the final boss in the NODE.OVRD.AVALON mission and it is a beast. It has three damage phases.
In the first damage phase, focus on taking out the Wyverns and Minotaurs before damaging the boss. Take shelter behind the walls. Slowly, but surely, you’ll get to the next phase.
After taking the portal, you need to clear out the Wyverns and Hydra. The Harpies are annoying, but not essential to defeat to move forward. With the two Wyverns and Hydra defeated, eliminate both Cyclops on both sides.
At this point, you need to go to the left side of the stage and see the five-symbol solution in the triangle on the floor. With the information memorized, shoot the corresponding shapes at the center column.
When this is done, a damage phase will begin and it’ll last for 30 seconds. When the damage phase is over, you’ll need to do the whole process again, but the pattern is found on the right side. If you go into any damage phases past two, all the patterns will be on the right side.
Once you’ve gotten to the third phase, Brakion will charge you. Focus on eliminating the Minotaurs and take shelter when you can.
If you are careful, you’ll eliminate Brakion as you take shots where you can and heal when necessary. Don’t rush it as if you die, you’ll need to restart from the beginning.
Once you’ve defeated Brakion, you’ll get the shape for the Vexcaliber Exotic Glaive. Turn it in at H.E.L.M. and you’ll get the weapon. Well done!


Published: Mar 7, 2023 05:30 pm