If you want to get the Virtual Fighter Title in Destiny 2, you need to know how to get all the action figures and where to place them on Neomuna. New action figures are released weekly and you’ll need to have completed the Lightfall campaign to get them. Destiny 2 has a lot of secrets. Who knew action figures would be one of them?
Where to Find All Week 1 Action Figures in Destiny 2 Lightfall
There are two action figures available in Destiny 2 Week 1. One is found in Ahisma Park and one is found in Irkalla Complex which is past Zephyr Concourse. Here’s how to find them both.
Related: Destiny 2 Neomuni Souvenirs Triumph Guide: How to Get All Lightfall Gear
How to Get the Ahisma Park Action Figure in Destiny 2

Right when you enter Ahisma Park from Striders’ Gate, there is a dome-shaped building. Enter the building from the second-floor balcony.


Once inside this building, jump down to the first level. Here, you’ll see stairs near a Pouka mural. Traverse underneath the stairs and you’ll find the first action figure tucked away against the rock.
How to Get the Irkalla Complex Action Figure in Destiny 2

To get the action figure in Irkalla Complex, start on the west end of Zephyr Concourse near where the glass region chest is. Continue through the hallway to Esi Terminal. Once you are at Esi Terminal, continue left and through the open door at the end of the alley.
Follow the corridor straight until your reach an open door on the right. Continue forward and straight through the next open door. Once outside, use the balconies on the right to traverse down. Continue forward and through the black and yellow portal.


This will take you to the front of Irkalla Complex. Enter the complex through the hole in the wall and take an immediate left turn. Use the boxes to jump to the top of the front-facing wall.
While on the wall, jump onto the first broken cannon that aims left. Use a sniper to shoot the pyramid fragment that is in line with the cannon. Repeat this for the cannon next to this one that is facing right. Repeat this again on the last cannon that aims straight and is on fire.
If you’ve done it right, the action figure will appear at the end of the cannon you are currently on. Now that you have both of the available action figures, you need to place them in the right spot.
Where to Find All Week 2 Action Figures in Destiny 2 Lightfall
Destiny 2 Week 2 is here and there are two new action figures to collect. Here’s how to get them.
How to Get the Zephyr Concourse Action Figure in Destiny 2

The Zephyr Concourse action figure is found by starting and finishing an activity at the bar. The bar is located on the west side of the POI.
To start the bar activity, simply go up to the tablet on the counter and press Start Activity. Once the activity starts, you need to stay behind the bar or else the activity will stop and you’ll need to restart.


The objective is to keep Patrons away from the bar. Cabal labeled as Patrons will appear around the bar and all you need to do is eliminate them before they get too close. Use your radar to help you know where they are coming from.
Related: How to Find All Liming Harbor Apogee Repeaters in Destiny 2
Once you have eliminated all of the Patron Cabal, a message saying “a secret is revealed…” will be displayed and you can collect the action figure where the tablet originally was.
How to Get the Maya’s Retreat Action Figure in Destiny 2

To get the Maya’s Retreat action figure, simply fast travel to Liming Harbor and go to the end of the Maya’s Retreat region.
Before the Strand area, in the big cave, you’ll see a large brazier in the back left corner. Go up to it and activate it to light it.


Now, exit from where you came in and hug the wall on the right. Jump onto the single rock column to the right. To the right of this rock column, you’ll see a cave. Activate the brazier inside this cave.
Lastly, you need to jump to the next rock outcropping beyond the rock column. Once there, jump to the cave that is directly in front of you (using the Grapple makes this a lot easier). Once there, activate the third brazier.
Once you have lit all three braziers, the action figure will appear on the third brazier.
Where to Find All Week 3 Action Figures in Destiny 2 Lightfall
Just like in weeks past, there are two action figures available to collect in Destiny 2 Lightfall week 3. Here is where they are and how to get them.
How to Get the Esi Terminal Action Figure in Destiny 2

The Esi Terminal action figure is found by going west through Zephyr Concourse to Esi Terminal. Once you have reached Esi Terminal, turn left and then right down the stairs.


You’ll see a door on the left which features a red restaurant room. Continue through the room to the back. Once in the back, turn right and then left to the first sink.
Once you are at the sink, a prompt will tell you to Activate. After interacting with the sink, Cabal Gladiators will spawn that are invulnerable to damage. Your goal is to take all five glowing Gloom balls, which are supposed to be dirty dishes, to the sink.
After you have taken all five dirty dishes to the sink without dying, you’ll unlock the Esi Terminal action figure which appears at the sink.
How to Get the Liming Harbor Action Figure in Destiny 2

The Liming Harbor action figure is found in the center of the POI inside the north side of the Radiosonde building which is right next to the Terminal Overload chest spawn area. Inside, you’ll see a crescent-shaped desk. Interact with it.
Related: Destiny 2 Root of Nightmares Loot Table: Raid Weapons & Armor Guide


This challenge is just like the Zephyr Concourse action figure challenge. Vex will try to go inside the building through the doors on your left and right. If they get through the doors or you leave the desk area, the activity gets canceled.
Bring a great ranged weapon like the Volta Bracket God Roll and prepare to defend the doors from Vex. The enemies will start easy and get harder and harder and end with three Minotaurs. Be sure to use powerful Supers and abilities like the best Void Warlock build to survive it.
After successfully guarding the doors, you’ll finish the activity. The action figure will be found on the crescent-shaped desk.
Where to Find All Week 4 Action Figures in Destiny 2 Lightfall
Unsurprisingly, Destiny 2 Lightfall Week 4 has two action figures to collect. After these two, you’ll only need to collect one more in Week 5 to be done.
How to Get the Typhon Imperator Action Figure in Destiny 2

The Typhon Imperator action figure is found in the arena where the Radial Mast was in the Downfall Mission. This area is found at the very end of the Typhon Imperator area which is northeast of Ahisma Park.


Enter Typhon Imperator through the front, not through the Lost Sector, and continue through the area and through the portal. After going through the portal, you’ll be in the arena area.
Once there, clear out the enemies and turn right. On the shelf on the wall, you’ll see a small golden brazier. Activate it and turn around.
Now, you’ll need to collect all the Vex cubes in time. There is no time limit displayed and you can always restart, so just focus on collecting them all. The Vex cubes only appear one at a time and point to where the next one will be when collected.
The Vex cubes will take you through the middle of the arena, up to the left side, up to the north side of the arena, and back down toward the golden shield gate. If you collected all Vex cubes in time, the action figure will appear in between the wires on the ground in front of the golden shield gate.
How to Get the Radiosonde Action Figure in Destiny 2

The Radiosonde action figure is found at the end of the Radiosonde region. As you did for the Typhon Imperator action figure, continue through each room in Radiosonde until you reach the terminal at the end.


Once you’ve reached the terminal, activate it. Turn around and you’ll see glowing lines on the wall and two rows of four beneath them. The glowing lights are numbers and the rows represent analog clock hands.
To complete this puzzle, you need to shoot the corresponding clock hand based on the glowing number. If the first glowing number shows five lines, look at the rows and shoot the circle that points to where the five is on an analog clock.
If you are correct, a glowing diamond will appear. It will most likely always be randomized, so there is no correct order for everyone. If a number repeats just skip it and shoot the next analog clock correlating with the glowing number.
If you get eight clocking diamonds, you can turn around and find the action figure resting on the terminal. Collect it and place it in the building near Nimbus.
Where to Find All Week 5 Action Figures in Destiny 2 Lightfall
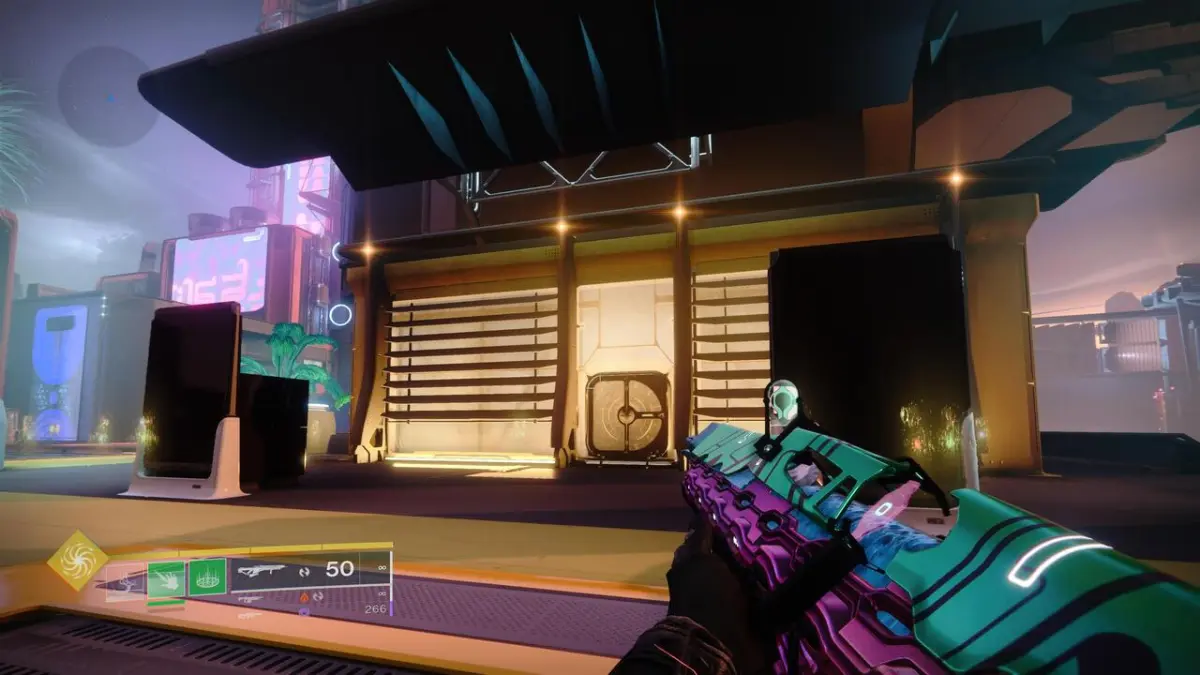
The last action figure is finally available in Neomuna with Week 5. This week, there is only one action figure to get and it is found in Striders’ Gate. More specifically, the beginning is found inside the yellow building where you place the action figures.
How to Get the Striders’ Gate Action Figure in Destiny 2

The Stiders’ Gate action figure is acquired by entering the arcade game to the left of the workout bench. You need to complete a timed shooting gallery and, if you have Skyburner’s Oath, you should bring it as it will make this a lot easier. If you don’t have that Exotic Scout Rifle, any Scout Rifle or Sniper will do.


In the shooting gallery, you’ll see floating Vex diamonds that act as your timer. You need to shoot the red explosive canisters. After shooting around five or six, you need to find and shoot the Vex diamonds that appear on the field to refresh the timer.
The red canisters start in a line and go to the right. They then go up and around the front of the yellow building and back down again in a circle. They then return to the center of the area with one red canister on the platform on the right. Then, the canisters start appearing in groups on the side of the left building and the right building, in front of the missiles, around the two round structures, and in the middle.
Once you’ve shot every red canister in time, you’ll be booted out of the shooting gallery and see the action figure sitting on the arcade cabinet to the right of the one you entered.
Where to Place All Action Figures in Destiny 2 Lightfall

If you spawn at Striders’ Gate and jump down to the right of where Nimbus is, you’ll see a yellow building. Go inside and you’ll see markers indicating where you need to place your action figures.


Published: Mar 29, 2023 11:24 am