The Legend of Zelda: Tears of the Kingdom holds many mysteries for players to discover. One such mystery is the appearance of Geoglyphs. Players heading to the Hebra Mountains to resolve Regional Phenomena will likely come across one of the glyphs, leading them to a quest that continues to the nearby Forgotten Temple. This is one of the main quests, so players should know how to enter and traverse the Forgotten Temple location in Tears of the Kingdom.
How to Enter and Traverse the Forgotten Temple in The Legend of Zelda: Tears of the Kingdom
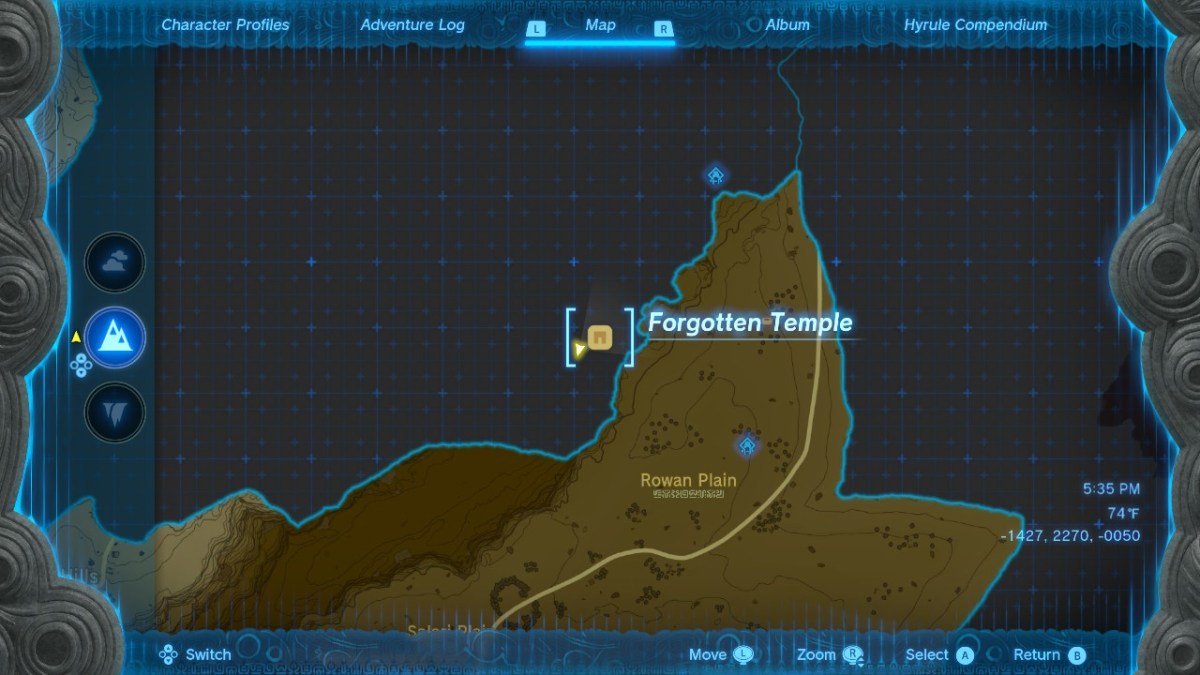
The Forgotten Temple is located beneath a massive cliff. If you’re coming down the path from Lookout Landing, you can easily get there by dropping down from near the Kiuyoyou Shrine. There’s a hole in the side of the temple you can land inside where you should find an NPC. You can continue down to fight some Bokoblins and get useful weapons, but it’s smarter to stay up top and look to your left.

You can climb up to some of the platforms within the temple, and from there you can use a combination of gliding and ascension to reach a massive stone bridge. You’ll see a huge opening north of the bridge that can’t be so easily reached through climbing. Instead, use your Paraglider to stand on top of a nearby pillar, then glide the rest of the way for a shorter, easier climb.

Related: How to Unlock Autobuild in Zelda Tears of the Kingdom
At this point, you’ll find Impa if you’ve started her quest. You’ll also find a shrine that will act as a good fast-travel point if you ever need to return. Continuing onward will eventually lead you to a map that displays the location of Geoglyphs in Hyrule, allowing you to begin your long journey in finding them all. If you don’t want to constantly return here to look at the map, consider taking a picture of it before leaving.


Published: May 13, 2023 05:55 pm