In Breath of the Wild, players had the option to use Hero’s Path to retrace their journey through Hyrule step by step using the Sheika Slate. With the Purah Pad replacing the Sheika Slate entirely in Zelda: Tears of the Kingdom, players are anxious to know whether or not Hero’s Path is also available in its sequel.
Is Hero’s Path in Zelda Tears of the Kingdom?
?")
Hero’s Path is available in The Legend of Zelda: Tears of the Kingdom, though players need to complete a handful of sidequests to unlock it. This feature works exactly as it did in Breath of the Wild, drawing lines on your Map representing your steps taken, teleports, and deaths in the last 256 hours of playing. You can even
How to Unlock Hero’s Path in Zelda Tears of the Kingdom (ToTK)
Hero’s Path in The Legend of Zelda: Tears of the Kingdom is unlocked at the end of a somewhat long questline, which involves upgrading the Purah Pad and obtaining Autobuild — an ability that can completely change how you play the game.
With these quests unlocking such useful features, you’ve likely completed one or two already. We’ve separated this guide by each individual quest needed to unlock Hero’s Path, so you can find exactly where you need to go next.
Camera Work in the Depths
?")
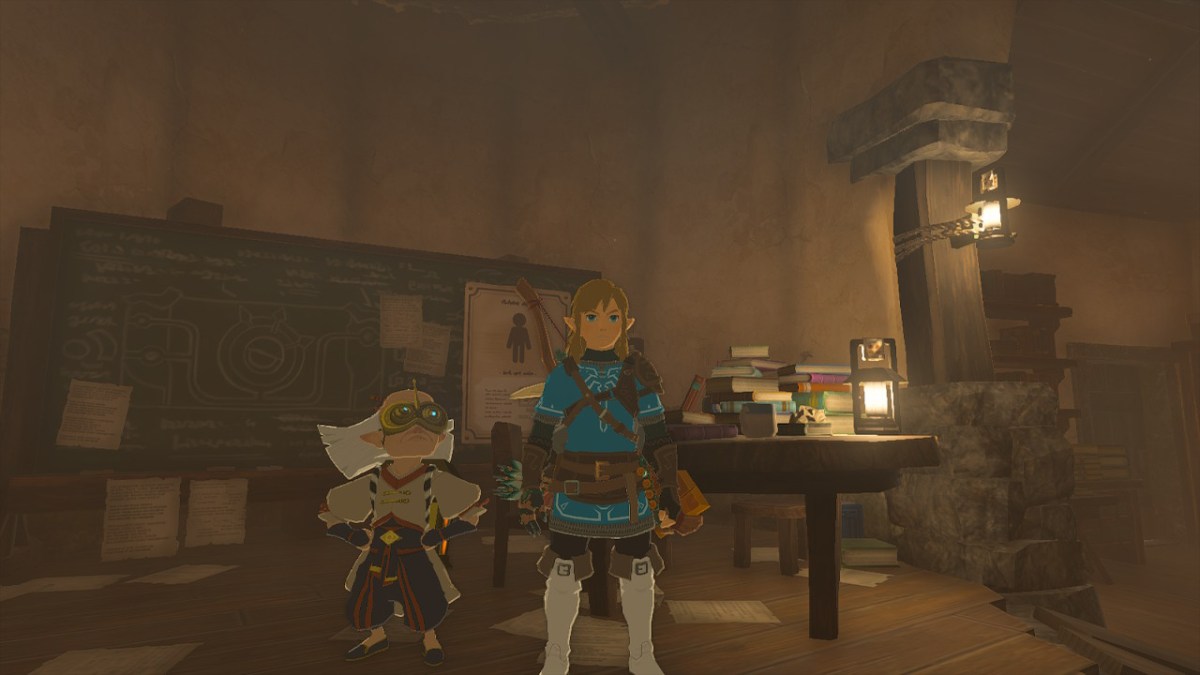
Once you’ve completed the introductory section of the game and obtained the Paraglider, talk to Josha to begin the ‘Camera Work in the Depths’ sidequest, which (as the name suggests) unlocks the Camera feature.
This quest is designed to introduce you to the Depths: a vast (and incredibly dark) area to explore underneath Hyrule. Dive straight into the Chasm next to Jiosin Shrine, and keep heading West until you find our good old friend Robbie near the Layusus Lightroot.
After you’ve used the camera to photograph the nearby statue and shown Robbie, return to the Surface, talk to Josha, and complete the quest.
A Mystery in the Depths
?")
?")
Once you’ve completed Camera Work in the Depths, you should be able to pick up the next quest, A Mystery in the Depths, from Josha immediately. If not, you’ll need to complete your first temple. We highly recommend clearing the Wind Temple first, as it’s the most painless and unlocks a new ability that makes exploring far easier.
You’ll need to explore the Depths again to find the Great Abandoned Central Mine by following the directions the statues face. Here, you’ll learn Autobuild and engage in a hilariously easy boss fight with a familiar face. Make sure you bring a few arrows with you because you’re about to fight a car-driving ninja.
For a full, in-depth guide on completing A Mystery in the Depths, visit our guide on obtaining Autobuild in ToTK.
Hatena Village Research Lab
?")
Now you’ve obtained Autobuild, use it to fix Robbie’s hot air balloon in Lookout Landing, and he’ll fly away to Hateno Ancient Tech Lab, which is precisely where we need him to be to receive the Hero’s Path feature. However, it’s not as easy as paying him a quick visit; we have a few more tasks to complete.
Travel to the Ancient Tech Lab in Hateno by teleporting to Zanmik Shrine or traveling all the way to the South-East corner of Hyrule’s Surface (another reason you should tackle the Wind Temple first). The exact coordinates are 3778, -2114 0250.
Related: How to Get Princess Zelda’s Golden Horse in Zelda Tears of the Kingdom
?")
Robbie will install the Shrine Scanner, which starts to beep instantly. Walk down the slope or jump directly off it to find a cave entrance blocked by rocks. Smash this using a blunt weapon (I used a Sturdy Stick fused with a rock) or a Bomb Flower, and enter the cave.
?")
Break the wall directly in front of you to find Mayahisik Shrine. This shrine is the type to give you the chest and reward just by entering it, so grab your Light of Blessing and head back up to the Lab using Ascend.
Presenting: Hero’s Path Mode!
?")
Talk to Robbie after you’ve completed the previous sidequest and select Hero’s Path mode. If you’ve completed 15 Shrines already, you’ll be given Hero’s Path mode immediately. If not, you’ll need to do some exploring and come back.
How to Use Hero’s Path in ToTK
?")
Open the Map by pressing the – Button, then press X to activate Hero’s path mode. This will instantly show your journey represented by green lines. Pressing X again will play your journey from the very beginning (assuming you’ve played less than 256 hours), showing every teleport and each embarrassing death followed by Link’s guttural scream.
The path shown covers the Surface, Sky, and Depths, with darker green lines representing steps taken in another plain. You can freely switch between each map using Up and Down on the D-Pad and toggle location markers and lines specific to your current map by pressing Y.
While you’re in Hateno Village, we recommend starting the Mayoral Election Questline to unlock a brand-new clothing store, the option to lower your hood, and Royal Guard Armor to complete your set.
This guide was written playing Ver 1.1.0 of The Legend of Zelda: Tears of the Kingdom on Nintendo Switch.


Published: May 17, 2023 06:13 pm